Okay, so I’ve been wanting a classic, simple piece of jewelry, and I decided to go for a sterling silver tennis bracelet. I wanted to see how to make it fit for my hand and what it looks like. Let me tell you, the whole process was a bit of a learning curve, but pretty fun!
Getting Started
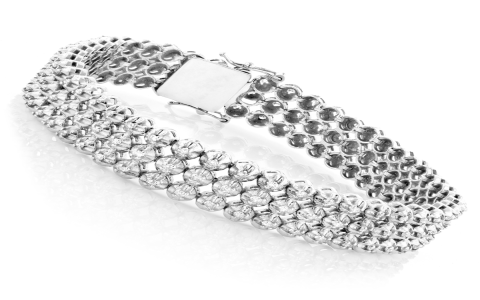
First, I got a sterling silver tennis bracelet. Making sure it was real sterling silver – you know, the 925 kind – was important to me. I wanted something that would last and not turn my wrist green!
Figuring Out the Clasp
The clasp was the first thing I tackled. There are different kinds, but mine had a little box clasp with a safety latch. It took a few tries to get the hang of it. I had to slide the end piece into the box and listen for that satisfying “click.” Then, I flipped the safety latch over to make sure it was really secure. It felt a little tricky at first, but after practicing a few times, I got the hang of opening and closing it one-handed.
Checking the Fit
- Sizing it Up:I wanted a comfy bracelet, so this step was important.
Once it was on, I checked the fit. A good rule of thumb I learned is that you should be able to fit one or two fingers between the bracelet and your wrist.
- Too Loose?: If it’s too loose, it might spin around or even slip off.
Mine was a little too loose initially, so I might need to get it resized later, but for now, it’s okay.
- Too Tight?:If it’s too tight, it’ll be uncomfortable and might even pinch your skin.
Luckily, it wasn’t too tight, just a bit on the looser side.
Admiring the Finished Look
Finally, I stepped back and admired it! The sterling silver looked so shiny and elegant. It’s exactly the classic, understated look I was going for. I tried it on with a few different outfits – a casual t-shirt and jeans, and even a slightly dressier top. It looked great with everything!
Overall, my experience is so good. I will try more styles next time!


