Alright, let me walk you through something I got my hands dirty with recently: building a basketball scoreboard. It wasn’t for any pro league or anything, just something I thought would be cool for the pickup games down at the local court. You know how it is, someone always loses track of the score.
Getting Started – The Idea
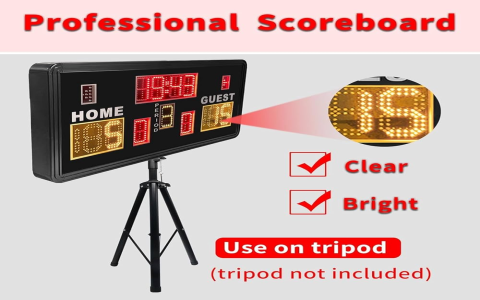
So, I kicked things off by just thinking about what a basic scoreboard really needs. Obviously, you need the scores for two teams. Home and Away, simple enough. Then, a timer is crucial, right? Gotta know how much time is left in the quarter or the game. I thought about adding stuff like fouls or period indicators, but decided to keep it simple for the first go-around. Less stuff to mess up, you know?
Gathering the Bits and Pieces
Next up was getting the materials. I decided to build a frame first.
- Grabbed some plywood for the main board.
- Got some smaller wood pieces for the frame itself, make it look a bit tidier.
For the electronics, which is the fun part, I went hunting:
- Big LED segment displays – needed ones large enough to see from across the court. Found some decent red ones.
- An Arduino Uno – figured that’d be easiest to program for controlling everything.
- Lots of jumper wires. Seriously, you always need more wires than you think.
- Push buttons for controlling the score and timer. Needed sturdy ones that could take a bit of abuse.
- A power supply to run the whole thing.
Finding the right size displays took a bit of looking around, but eventually got what I needed.
Putting It All Together
Okay, construction time. First, I built the wooden box. Cut the plywood to size, made a simple frame around it. Nothing fancy, just functional. Sanded it down a bit so nobody gets splinters.
Then came the wiring. This part always takes longer than I expect. I mounted the LED displays onto the plywood. Then, I started connecting them to the Arduino. Lots of wires going from the display segments to the Arduino pins. Had to double-check the connections constantly. Made a small separate control box for the buttons – one for Home score up, one for Away score up, start/stop timer, reset timer. Wired those buttons back to the Arduino too.
Programming the Brains
With the hardware roughly in place, I had to write the code for the Arduino. This was mostly trial and error. I needed code to:
- Listen for button presses.
- Increase the correct score when a score button was hit.
- Start, stop, and reset the timer countdown.
- Update the LED displays constantly to show the current scores and time.
The timer logic was a bit fiddly, especially getting the minutes and seconds to display correctly. Took a few tries uploading code, seeing weird stuff happen on the display, fixing the code, and uploading again.
Testing and Fixing
First time I plugged it all in? Well, let’s just say it wasn’t perfect. One of the score digits wasn’t lighting up right – turned out to be a loose wire. The timer button sometimes registered two presses instead of one. Had to tweak the code to fix that (something called debouncing, basically ignoring quick accidental double-presses). Spent an afternoon just testing every button, running the timer up and down, making sure the scores went up correctly. You gotta iron out the kinks.
The Finished Scoreboard
After all the fiddling and fixing, it finally worked reliably! Seeing the big red numbers light up, counting down the time, scores changing with the press of a button – pretty satisfying. We mounted it up on a post near the court. It’s nothing super professional, but it does the job. The guys playing seem to appreciate knowing the actual score without arguing! It was a fun little project, learned a bit more about electronics and coding along the way. Might even add those foul counters in version two… maybe.


